Slack
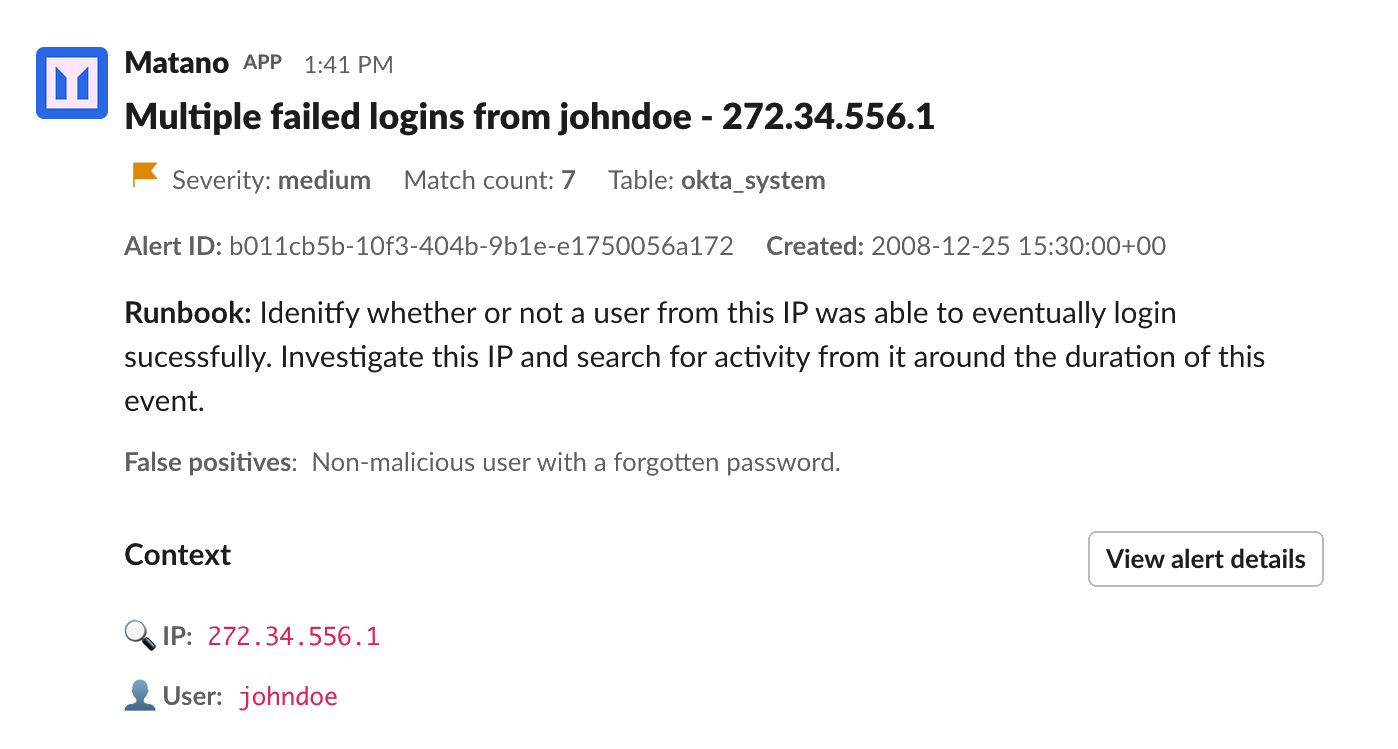
You can use the Matano Slack alerting integration to deliver alerts from your detections to your Slack channels.
Example

How to setup a Slack alert destination in Matano
1) Create the alert destination configuration file
my-matano-directory
└── integrations
    └── destinations
        └── slack_my_team.yml
slack_my_team.yml
name: slack_my_team # A name for your destination.

type: SLACK
properties:
  channel: <MY_CHANNEL_ID_OR_NAME> # e.g. C04AG3QSXSS or my-alerts
  client_id: <MY_CLIENT_ID> # Client ID for Slack App
Note: Dont worry about filling these parameters yet, that will be part of a later step.
2) Creating a Slack App for Matano Alerts
1) Login to Slack using an admin account.
2) Under the "Your Apps" page in Slack click "Create New App".
3) When prompted with the "Create an app" dialog, select the option "From an app manifest"
4) Under "Pick a workspace to develop your app", choose the Slack Workspace in which you would like to install the Matano Alerts Bot.
5) Click "Next", and when prompted with the "Enter the app manifest" dialog, paste the following as YAML:
display_information:
  name: Matano
  description: Open source security lake platform for AWS
  background_color: "#2d67e4"
features:
  bot_user:
    display_name: Matano
    always_online: false
oauth_config:
  scopes:
    bot:
      - channels:history
      - chat:write
      - chat:write.customize
      - users:read
      - users:read.email
      - groups:history
settings:
  org_deploy_enabled: false
  socket_mode_enabled: false
  token_rotation_enabled: false
6) Click "Next"
7) When prompted with "Review summary & create your app" dialog, click "Create".
Note: If you aren't a Slack administrator, follow these additional steps.
- On the "Basic Information" page, click "Request to Install".
- Ask your Slack administrator to approve the install request, but do not install it yet. Once approved, the Request Submitted button will update to Install to Workspace. Continue
3: Installing the Matano Alerts Slack Bot
If your Slack plan is Enterprise Grid, please see the Enterprise Grid tab below. For all other Slack plans, please see the Default Slack tab below.
- Default
- Enterprise Grid
Slack Bot - Install to your Workspace
1) On the "Basic Information" page in Slack click "Install to Workspace".
2) Click Allow to authorize access to your new Matano Slack app, once redirected to the OAuth authorization page.
Slack Bot - Install to Enterprise Grid
1) On the "Settings > Basic Information" page in Slack go to the Manage Distribution header and click "Distribute App".
2) Under Enable Org-Wide App Installation click "Opt into Org Level Apps".
3) Then click "Opt-in", and confirm in the pop-up "Yes Opt-in"
4) Return to the Settings > Install App page, and click "Install to Organization".
5) Click Allow when asked to authorize your new app with the Oauth permissions.
6) slackbot will send you a message that the installation was successful. Click the linked text "add it to some of your workspaces".
7) In the dropdown, add the Matano Slack Bot to your desired workspaces or enable it to automatically add to future workspaces.
8) Upon sucessfull installation, you will recieve confirmation messages from slackbot in the desired workspace(s).
3: Finalizing the Matano Alerts Slack Bot
1) Click Download to save the square icon to use for your Matano Slack Bot.
2) On the "Settings > Basic Information" page in Slack go to the Display Information section and click "+Add App Icon", and upload the icon.
3) Scroll down to the "App Credentials" section of the Basic Information page. Keep this information open, as you will need it the next step to complete setting up your Slack integration in Matano.
4: Creating the Matano Slack Alert Destination
1) Update the alert destination configuration file
Fill out the channel and client_id properties in your configuration file, based on the values for your App Credentials retreived in the previous step.
my-matano-directory
└── integrations
    └── destinations
        └── slack_my_team.yml
slack_my_team.yml
name: slack_my_team # A name for your destination.

type: SLACK
properties:
  channel: <MY_CHANNEL_ID_OR_NAME> # e.g. C04AG3QSXSS or my-alerts
  client_id: <MY_CLIENT_ID> # Client ID for Slack App
2) Deploy matano
Run matano deploy to deploy the the new alert destination. This will create a secret in AWS Secrets Manager, that you will need to update to finishing onboarding your alert destination.
3) Update the alert destination secret in AWS Secrets Manager
Secret fields
- signing_secret
- client_secret
- bot_user_oauth_token
Note: The secret for your alert destination, has a description matching: [Matano] <destination_name> - (slack) alert delivery secret
To finish onboarding the alert destination, populate the signing_secret, client_secret, and bot_user_oauth_token keys in the secret generated by Matano in AWS Secrets Manager, with the corresponding values from your OAuth app.
5: Invite the Matano Alerts Slack Bot to your Channel 🎉
1) Open Slack and go to the channel that you configured to use for your Matano alert destination.
2) In the Slack channel, send the following message:
/invite @Matano, and confirm the bot is added.
That's it! You have finished setting up you Slack alert destination, and are ready to receive alerts in Slack.
See Alert destinations for more information on configuring alerts.